How to Save Your Water Damaged Wallet Before It Is Too Late
Table of Contents
- 1. Stop panic and start acting fast
- 1.1. Take out every single item
- 1.2. Gently pat the surface dry
- 2. The safe drying process
- 2.1. Let it air dry naturally
- 2.2. Maintain the proper shape
- 2.3. Why heat is your worst enemy
- 3. Restoring the leather
- 3.1. Replenish lost natural oils
- 3.2. Massage the leather conditioner gently
- 4. Evaluating the final results
- 4.1. Quality makes a massive difference
- 4.2. The patina might change
- 5. When to call it quits and upgrade
- 6. Comparison: Natural Air Drying vs Artificial Heat
- 7. Final thoughts on leather care
A sudden downpour or an accidental trip through the washing machine can leave you holding a soaking wet mess. A water damaged wallet might seem completely ruined at first glance, but you can actually save your favorite leather accessory if you know exactly what to do in the first few hours.

The key to successful recovery lies in removing the moisture safely while protecting the delicate leather fibers from warping or cracking. This guide will walk you through the precise steps to rescue your wallet, restore its original beauty, and bring it back to life. You do not need to be a professional cobbler to achieve great results because you simply need patience and the right set of instructions.
Stop panic and start acting fast
Your initial reaction determines whether your leather accessory survives the soaking ordeal. You must act immediately to stop the moisture from penetrating deeper into the material. The longer the water sits inside the pockets, the harder it becomes to prevent structural damage from destroying the piece forever.
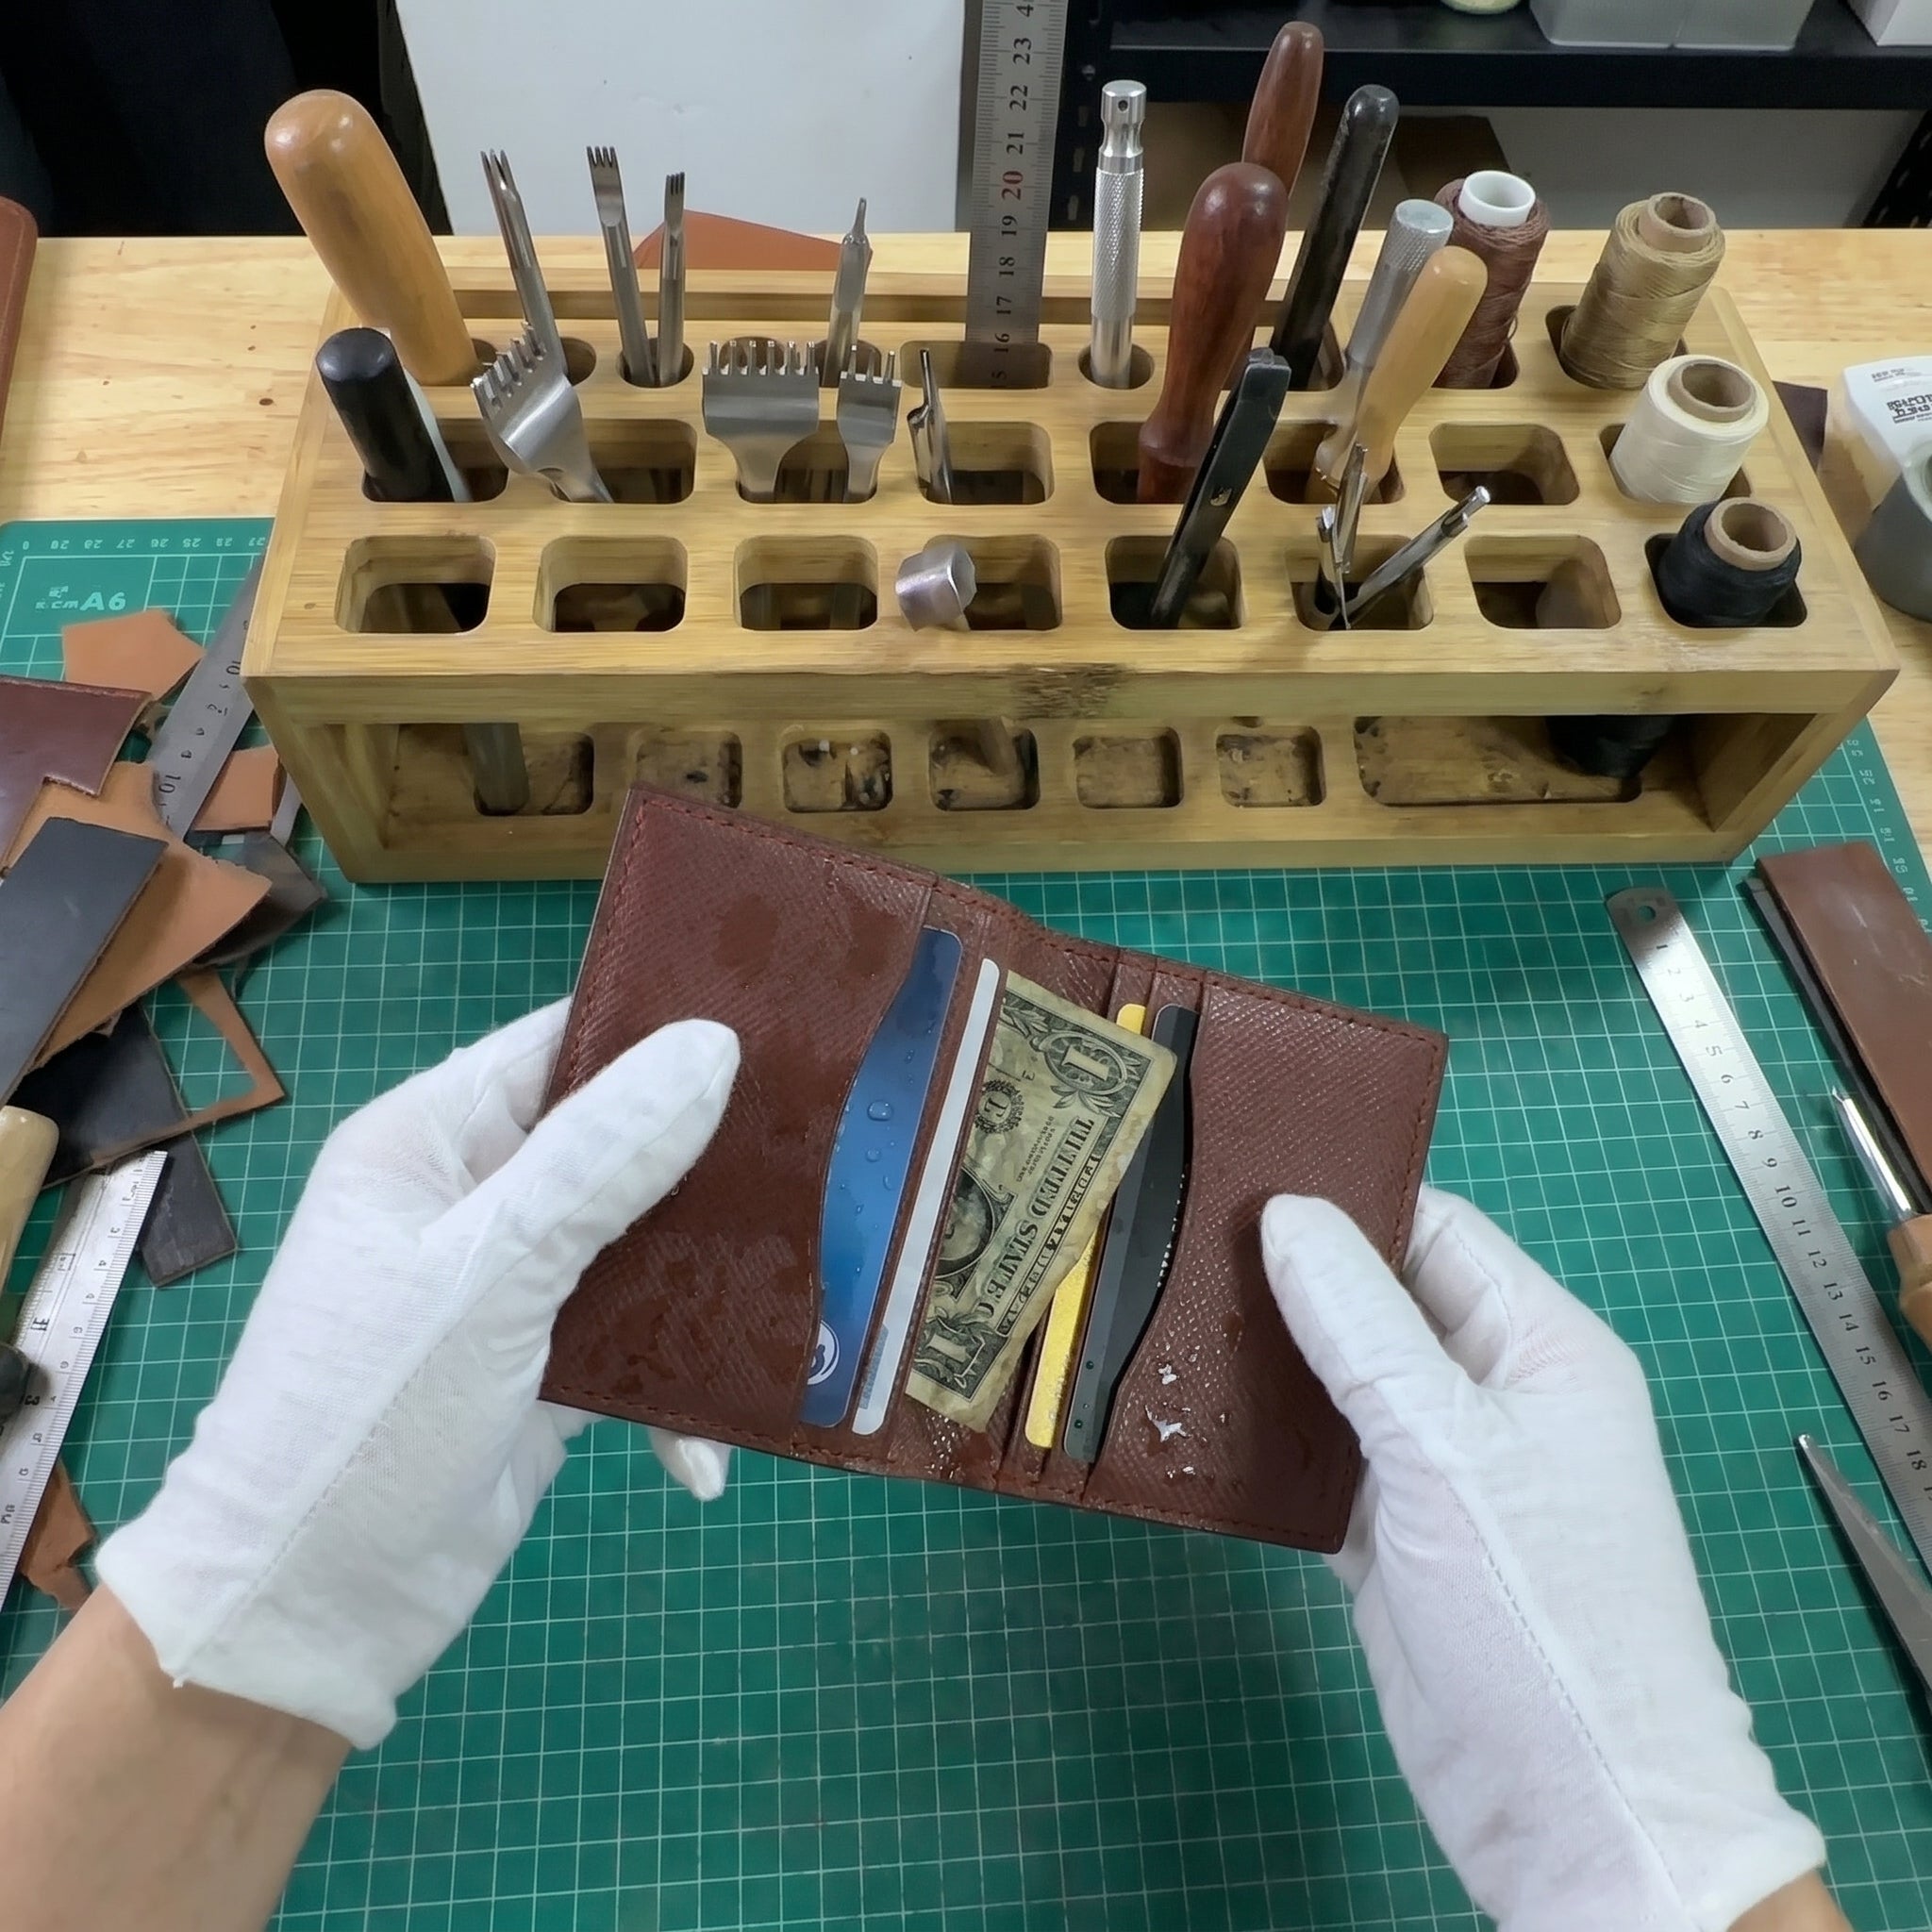
Take out every single item
Emptying all contents from the pockets is the absolute first step you must take. Cash and credit cards trap moisture against the interior lining and prevent proper airflow from reaching the deepest corners.
Removing these items allows the inner compartments to breathe and speeds up the drying timeline significantly. You also protect your important cards, photos, and receipts from becoming a permanent soggy mess.

Lay your cash flat on a separate towel so it can dry safely on its own without transferring ink onto your leather goods.
Remove credit cards immediately to stop the plastic from sticking to the wet interior.
Extract all paper money and spread it out on a flat surface.
Throw away ruined receipts that might bleed ink onto the delicate lining.
Leave all compartments empty to maximize the internal airflow.
Gently pat the surface dry
Use a clean and highly absorbent cotton towel to soak up the standing water on the exterior. You must blot the surface gently instead of rubbing the wet leather in a frantic motion. Rubbing a wet leather surface aggressively pushes the moisture deeper into the pores and damages the delicate top finish. Press the towel softly against the exterior until the material stops dripping completely.

If you own an intricately textured alligator leather wallet, make sure you dab carefully between the scales to absorb trapped droplets. The goal is to lift the water away from the surface without causing unnecessary friction.
The safe drying process
Drying the leather incorrectly causes more permanent damage than the actual water itself. You must embrace patience because rushing the moisture removal process will completely ruin the structural integrity of your accessory. Ignoring these fundamental rules is the quickest way to destroy an expensive daily carry item.
Let it air dry naturally
Placing your wet item in a well ventilated room at normal room temperature is the only safe method to dry it out. You need a steady flow of ambient air to slowly draw the moisture out of the microscopic pores. Air dry your accessory by resting it in a semi open position on top of a dry towel so both the inside and outside get equal ventilation.
If the leather gets completely soaked, you can place it inside a sealed container with dry uncooked rice or silica gel packets. These desiccants help absorb the excess humidity faster without applying any dangerous heat.
Maintain the proper shape
Stuffing the empty compartments with soft materials prevents the edges from curling inwards as the moisture evaporates. A warped wallet happens when the leather shrinks unevenly during the evaporation phase. You can crumple up some plain tissue paper and gently slide it into the main pockets to hold the original structure intact.

Avoid using printed newspaper because the wet material will absorb the ink and leave nasty stains on the inside lining. Replacing the damp tissue paper every few hours will accelerate the drying timeline and ensure the accessory retains its perfect original silhouette.
Why heat is your worst enemy
Applying direct heat to wet leather causes the natural protein fibers to shrink rapidly and become incredibly brittle. You should never try to speed up the process by using a hair dryer or leaving the item on top of a hot radiator under any circumstances. Direct sunlight is equally destructive and will bake the moisture out way too fast.
When you expose a wet hide to intense heat, you strip away the remaining natural oils completely. This creates massive cracks on the surface that no leather repair professional can ever fix. Keep your leather goods away from ovens, heaters, and open windows during the entire drying phase.
Restoring the leather
Your accessory will likely feel stiff and rough once all the water evaporates completely. You must reintroduce hydration to the material to make it soft, flexible, and comfortable to carry once again.
Replenish lost natural oils
Applying a premium leather conditioner is absolutely mandatory to save the dried out material from crumbling. The soaking process washes away the essential conditioning fats that keep the hide supple and healthy over the years. You need to restore moisture manually by feeding the open pores with a nourishing balm, cream, or wax.

Choose a high quality product made specifically for the type of leather you own to ensure maximum absorption. Understanding proper Epsom leather care techniques ensures you keep your wallet in perfect shape for decades without compromising its elegant appearance.
Massage the leather conditioner gently
Rubbing a pea sized amount of conditioning balm evenly across the surface brings the natural flexibility back to the hide. You should use a soft microfiber cloth or your bare fingers to work the cream into the pores using small circular motions. Let the treatment sit for about twenty minutes so the fibers can drink up the nourishment fully.

If the material still feels overly stiff, you can add a second thin layer of conditioner to boost the hydration levels. Once the hide feels soft again, buff the exterior with a clean cloth to remove any leftover residue and restore the original beautiful shine.
Apply a tiny drop of conditioner at a time to prevent greasy buildup.
Massage in circular motions to generate mild friction for better absorption.
Allow the material to rest and absorb the fats for at least twenty minutes.
Buff the surface vigorously with a dry cloth to bring out the natural luster.
Evaluating the final results
Understanding what happens to the material after a major soaking helps you set realistic expectations for the recovery journey. Your accessory might not look exactly the way it did before the accident, but it can still remain highly functional and stylish.

Quality makes a massive difference
Premium materials survive soaking accidents much better than cheap synthetic alternatives sold in department stores.
- A full grain leather hide possesses dense fibers that can withstand severe environmental stress without falling apart at the seams.
- Lower grade bonded leathers often peel or blister permanently because the cheap glue holding the scraps together dissolves in the presence of water.
If you initially invested in handcrafted luxury leather goods, you have a significantly higher chance of bringing the accessory back to life successfully. Handcrafted items use robust stitching and superior hides that endure accidental spills with remarkable resilience and grace.
The patina might change
Accepting slight changes in color and texture is part of owning an authentic natural product that ages alongside you. Water damage frequently leaves subtle dark spots or creates a slightly wrinkled texture on the surface of the hide. These unique marks blend into the overall character of the item over time as you continue to handle it daily. The natural oils from your hands will gradually soften the harsh water spots and turn them into a beautiful rich patina.
Embracing these small imperfections adds a unique story to your daily carry companion instead of ruining its appeal.
When to call it quits and upgrade
Sometimes the damage is simply too severe for any clever rescue methods to work properly. You should consider replacing the item if the material feels like hard plastic or if the structural stitching has completely dissolved away. Moving on from a ruined accessory opens up the perfect opportunity to explore exciting new designs and exotic materials from the Wild & King.
You could upgrade to a stunning Himalayan leather wallet with natural color transitions that features extreme durability.

If you prefer something highly personalized, designing an exclusive custom leather money clip guarantees you get a piece tailored precisely to your daily financial needs.
Discovering playful options like the minimalist Pueblo leather card holder featuring a dinosaur design brings a sense of joy back into your everyday carry setup while upgrading your overall style.
Comparison: Natural Air Drying vs Artificial Heat
Choosing the right drying technique dictates whether your accessory survives or ends up in the trash bin permanently. The comparison table below outlines exactly why practicing patience wins every single time you face a wet leather crisis.
| Drying Technique | Evaporation Speed | Impact on Leather Fibers | Final Outcome |
| Natural Air Drying | Slow (24 to 48 hours) | Safe, gentle, and highly protective | Retains shape and allows for easy conditioning |
| Hair Dryer | Fast (10 to 20 minutes) | Destructive, aggressive, and harsh | Severe cracking and permanent material stiffness |
| Direct Sunlight | Medium (2 to 4 hours) | Bakes the material excessively | Warping, extreme color fading, and shrinking |
| Hot Radiator | Medium (1 to 3 hours) | Melts the internal glues instantly | Brittle texture and complete structural collapse |
Final thoughts on leather care
Rescuing a soaked accessory requires immediate action combined with a healthy dose of patience and care. You can easily overcome this stressful situation by following the safe air drying protocols and aggressively rehydrating the material afterward. The secret formula always comes down to avoiding artificial heat and replenishing the vital conditioning fats lost during the soaking event.
Treat your daily carry item with the respect it deserves, and it will continue to serve you beautifully for many more years to come.
Leave a comment
This site is protected by hCaptcha and the hCaptcha Privacy Policy and Terms of Service apply.